
Module 3 · 3.3
Photos: choosing, uploading, having them made and rights
Module 3: Text, photos and sections · Reading time: 10 minutes
Learning objective: After this lesson you can replace photos on your site with your own photos or AI images, manage a gallery, drag the size and shape of a photo, write a good photo description (alt text) and judge whether you are allowed to use a photo.
Key concepts: Change photo, AI image, Own photos, Media, Description (alt text), gallery, Manage photos, shape and focal point, copyright, portrait rights, consent
Why photos make the difference
Visitors look at images first and read after that. The photos in your first version were chosen or made by the AI, or they came from your old site (lesson 2.3). That is a start. For Bas of Schildersbedrijf Example, real photos of his work say far more: a painted stairwell, a front of a house before and after, Bas and his two employees on the scaffolding. Real photos make you trustworthy.
Replacing a photo
Hover over a photo in the preview and click Replace photo. You can also use Pick a section to point to a section with photos and then click Change photo next to the label. The Change photo window opens. If the section has more than one photo, first choose at the top which photo you want to change ("Which photo do you want to change?").
The window has three tabs:
- AI image: the AI makes a new image. In the box "Describe the photo you want" you describe what should be in it and click Make 2 new variants. After about half a minute you see two suggestions; with Use this photo you put one on your site. One round costs 1 edit for two variants. At the top you can see how many edits you have left.
- Own photos: with Upload your own photo you put your own photo in that spot. JPG, PNG or WebP, up to 8 MB. This is free.
- Stock photos: shown in the builder with the label Coming soon and not available yet.
Every photo you choose is a new version; you can go back with Undo or via Versions (lesson 3.5).
You can also add your own photo through the chat: attach it with the paperclip and write where it should go, for example "this photo at the top of the About us page". That is an instruction to the AI; below the text box you can see beforehand what it costs.
A good description for an AI image
Be concrete: "A painter in white overalls painting the wooden window frame of a terraced house, sunny, close up" works better than "painter at work". Do not ask for recognisable real people or for other companies' logos.
Media: all photos in one place
The Media panel in the rail shows all the photos on your site. You can filter on All, On the site, Unused and Logo, and at the top you can drag in new photos.
Click a photo and you see:
- Where this is used: on which page and in which section the photo appears;
- Description: the alt text (see below);
- Use in the chat: prepares an instruction to place this photo somewhere;
- Replace: puts a new file in every spot where this photo appears;
- Delete: only possible once the photo is no longer used anywhere on the site. If it is still used somewhere, the button tells you in how many places; replace it there first.
The gallery
You manage a gallery separately. Select the gallery with Pick a section and click Manage photos. You see Photos in this gallery. Drag to change the order, remove a photo with the little cross, add one with Add photo (from your media or newly uploaded) and choose the number of Columns (2, 3 or 4). Click Save gallery. This costs no edits. At least one photo must stay in the gallery.
The description: alt text
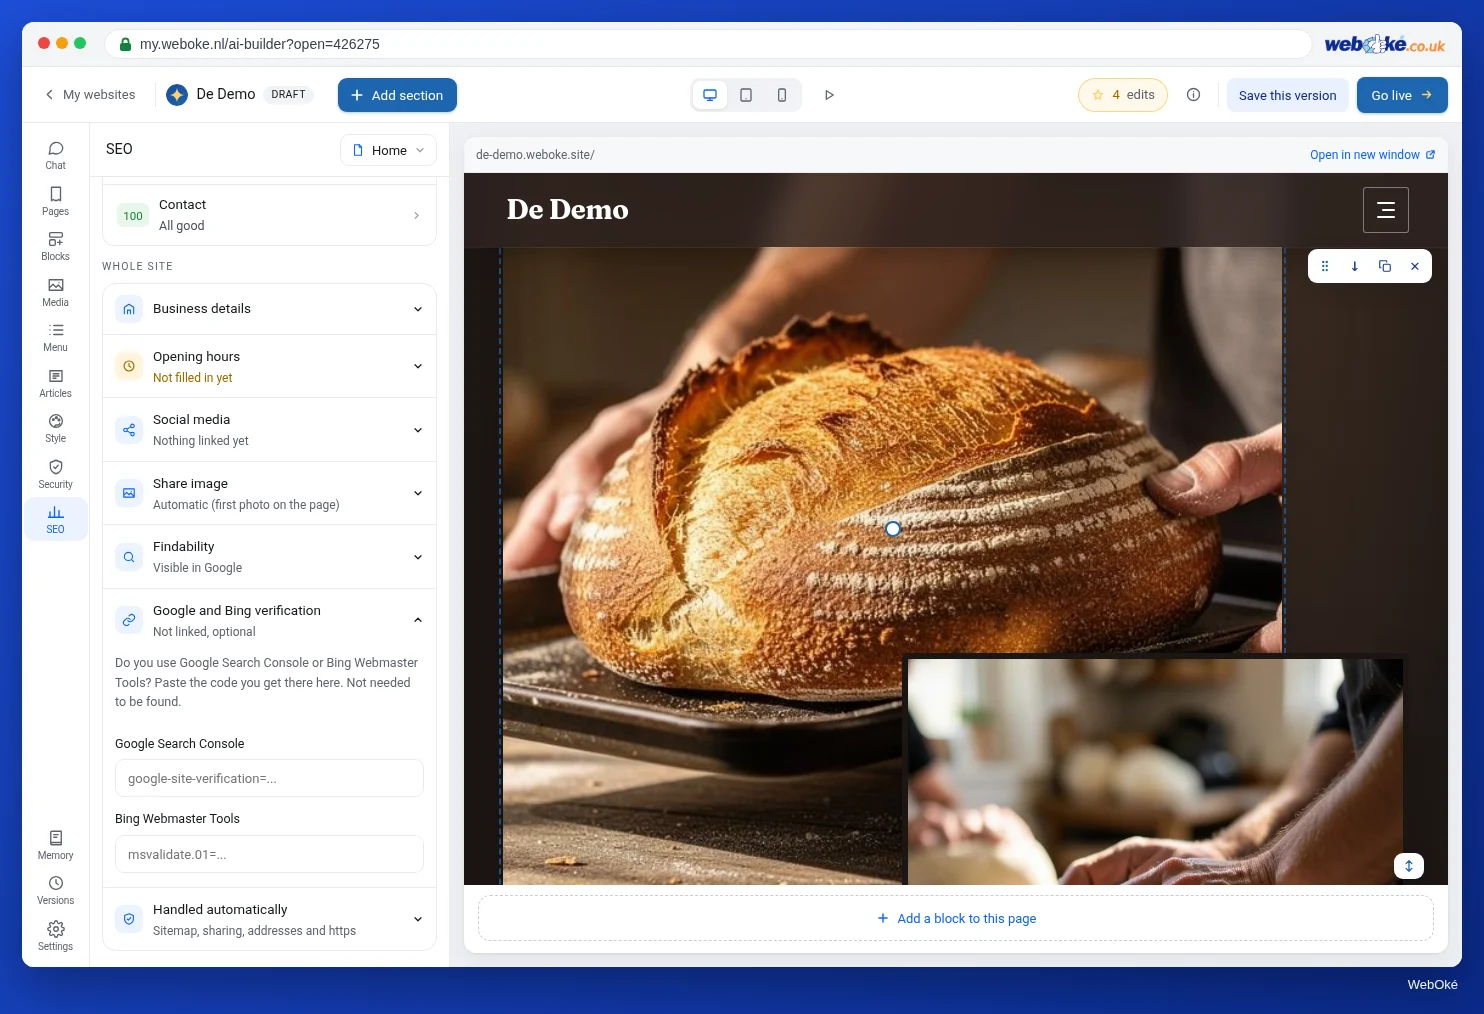
Every photo has a Description. This is the alt text: a short text that people using a screen reader hear instead of seeing the photo, and that search engines read to understand what is in it. The builder says so itself below the field: "For Google and for people using a screen reader."
You fill it in under Media: click the photo, type what can be seen in the Description field (no more than 200 characters) and click Save.
The builder helps you part of the way:
- For an AI image it uses your request as the description (without "make a photo of").
- For your own upload it creates a description from the file name and asks you to check it. A photo called "IMG_4021.jpg" therefore gives you nothing useful. Give your files a meaningful name, such as "stairwell-painted-white.jpg".
- If you wrote a description yourself and then replace the photo, your text stays, with a request to check it: "Check the description of this photo in Media: it may still belong to the previous photo."
A good description says in one sentence what can be seen: "Stairwell with white walls and a dark grey handrail, painted by Schildersbedrijf Example". Do not start with "photo of", and do not stuff it with a list of keywords. If an image is purely decorative, keep the description short. In lesson 7.3 you use exercise A7.3 to check that all your images have a description.
Dragging size, shape and focal point
Hover over a photo in the preview. Handles appear:
- wider or narrower (bottom right);
- taller or flatter, so the shape (bottom);
- rounder or squarer corners (top right);
- the focal point: drag it to the most important part of the photo, so that part stays visible when the photo is cropped.
Double-click a handle and the default size comes back (for the focal point: the centre). Dragging is free and does not use AI. Then check Mobile: photos are often cropped differently there.
Am I allowed to use this photo?
This lesson explains the rules as they apply on 10 November 2026. It is not legal advice. If you are unsure about your situation, ask a lawyer or your trade association.
Copyright. Whoever takes a photo automatically has copyright on it. It does not need to be registered anywhere. The creator decides whether and how others may use, copy and show the photo. If you put someone else's photo on your site without permission, you infringe that copyright, and the creator can go to court to make you stop and claim damages. Copyright applies internationally, and also to photos you "just found on the internet". So do not use a photo from a competitor, from Google Images or from a photographer without a licence. With an open licence, such as Creative Commons, read the conditions, for example whether you must credit the creator.
Photos with people. A photo in which someone is recognisable is personal data under the GDPR. If you as an employer want to publish photos of your employees, you need a legal basis for that. According to the Dutch Data Protection Authority (Autoriteit Persoonsgegevens, AP), that is usually the employee's consent. The GDPR is EU law; other EU countries have their own data protection authority. Consent can be withdrawn at any time, without a reason; you then remove the photo. And saying no must not have any negative consequences for the employee. So Bas asks his employees for consent beforehand and records it. In the Netherlands, portrait rights under the Dutch Copyright Act (Auteurswet) also apply: someone who is recognisable in an image can, in certain cases, object to publication. Photographing customers in front of their house or showing a recognisable house number is also something you only do with their consent.
AI images. An AI image is not a photo of your work. Do not put an AI image of a beautifully painted house on your site as if it were one of your projects: that misleads customers. Use AI images for atmosphere, and real photos for your own work and your team. Lesson 7.3 goes further into image rights and AI texts.
Pitfalls
- Leaving placeholder images that do not fit your business, or AI images that look like your work.
- Uploading photos with a meaningless file name: you get an unusable description.
- Photos that are too large: uploads above 8 MB fail. Make them smaller first.
- Only looking on a large screen: check shape and focal point on Mobile.
- Other people's photos without permission or a licence.
In the builder: how to do it
- Hover over a photo and click Replace photo.
- Choose Own photos and Upload your own photo, or AI image with a concrete description and Make 2 new variants.
- Choose Use this photo.
- Open Media, click the photo and fill in the Description; click Save.
- Drag the handles for size, shape and focal point; check Mobile.
- Gallery: Pick a section, Manage photos, order and Columns, Save gallery.
Summary
- Change photo has AI image (1 edit for two variants) and Own photos (free, JPG, PNG or WebP up to 8 MB); Stock photos is coming soon.
- In Media you see where each photo is used, and you fill in the Description (alt text); the builder fills in a start, you check it.
- Handles in the preview control width, shape, corners and focal point; a double-click restores the default.
- Other people's photos only with permission or a licence; recognisable people only with their consent; never present AI images as your own work.
Quiz
Exercise
Exercise D3.3: Your images in order. Make sure the most important images on your site are really yours, have a good description and look right on a phone.
Checklist:
- [ ] looked at all photos in Media with the On the site filter;
- [ ] replaced at least two placeholder images with your own photos that have a meaningful file name;
- [ ] checked or written the Description for every photo on your homepage;
- [ ] noted for every photo with people who is in it and whether you have their consent;
- [ ] noted for every photo that is not yours where it comes from and which licence applies;
- [ ] adjusted the shape or focal point of the largest photo and checked it on Mobile;
- [ ] replaced AI images that look like your work, or placed them so they don't come across as your own project.
Questions:
- Which photo did you replace, and what does the new photo say better about your business?
- Copy the description (alt text) of your most important photo here. Does it say in one sentence what can be seen?
- Are there recognisable people on your site? How did you arrange their consent?
After "done" you see an example answer: the AI image in the hero was replaced with an own photo of a painted house front, because it shows real work; description "Front of a 1930s house with newly painted green window frames"; the team photo shows Bas and two employees, who gave written consent and know they can withdraw it.
Exercise D3.3: Your images in order
You do this exercise yourself; no one checks it. Tick off what you've done and mark the exercise as done.
The AI image in the hero has been replaced with our own photo of a painted façade, because it shows real work. Description: "Façade of a 1930s house with newly painted green window frames". The team photo shows Bas and two employees, who gave written consent and know they can withdraw it.
Your ticks and notes only stay in this browser; we don't send them anywhere. If you're signed in, we only save in My courses that you've done the exercise.
Further reading
- Set title, description, and alt text per page
- Free WordPress course 4.4: Media: images and alt text
- Copyright (Ondernemersplein, RVO, Dutch government source, in Dutch): https://ondernemersplein.overheid.nl/wetten-en-regels/auteursrecht/
- Images in the workplace (Dutch Data Protection Authority, in Dutch): https://www.autoriteitpersoonsgegevens.nl/themas/internet-slimme-apparaten/beeldmateriaal/beeldmateriaal-op-de-werkplek
- An alt Decision Tree (W3C WAI): https://www.w3.org/WAI/tutorials/images/decision-tree/