


Nextcloud Mail is the official Nextcloud mail client and works perfectly with the mailboxes you can create in WebOké's hosting packages, but of course you can also use mailboxes from all other providers in Nextcloud Mail.
In this article we explain how to add your WebOké mailbox to Nextcloud Mail. Adding mailboxes from other providers works the same way, but certain settings like IMAP and SMTP servers differ per provider.
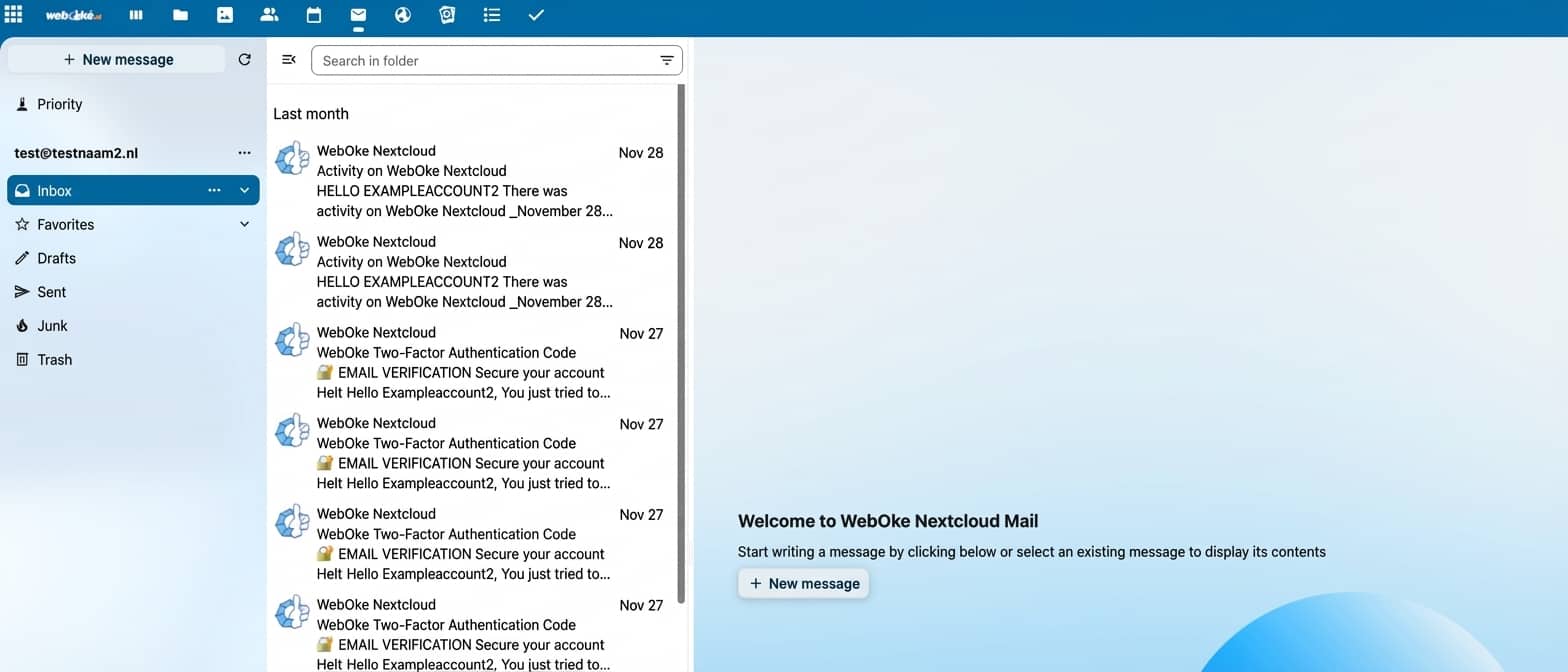
Step 1 - Open the Nextcloud Mail app.

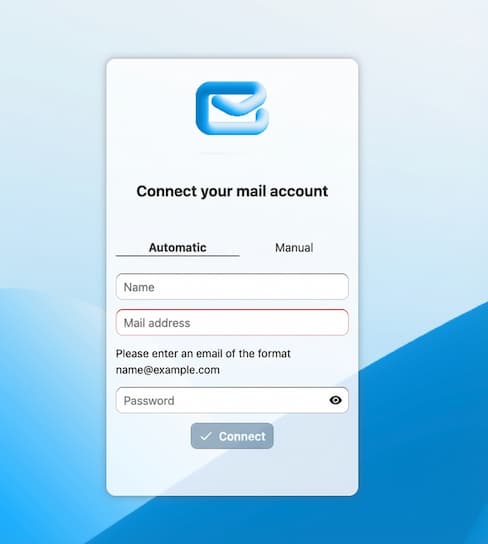
Step 2 - First try the 'Automatic' option for logging in, enter your email address and password here.
For most WebOké mailboxes this works immediately and you're done. If certain (DNS) settings are not standard, choose 'Manual'. In the rest of the article we explain how to add the mailbox manually.
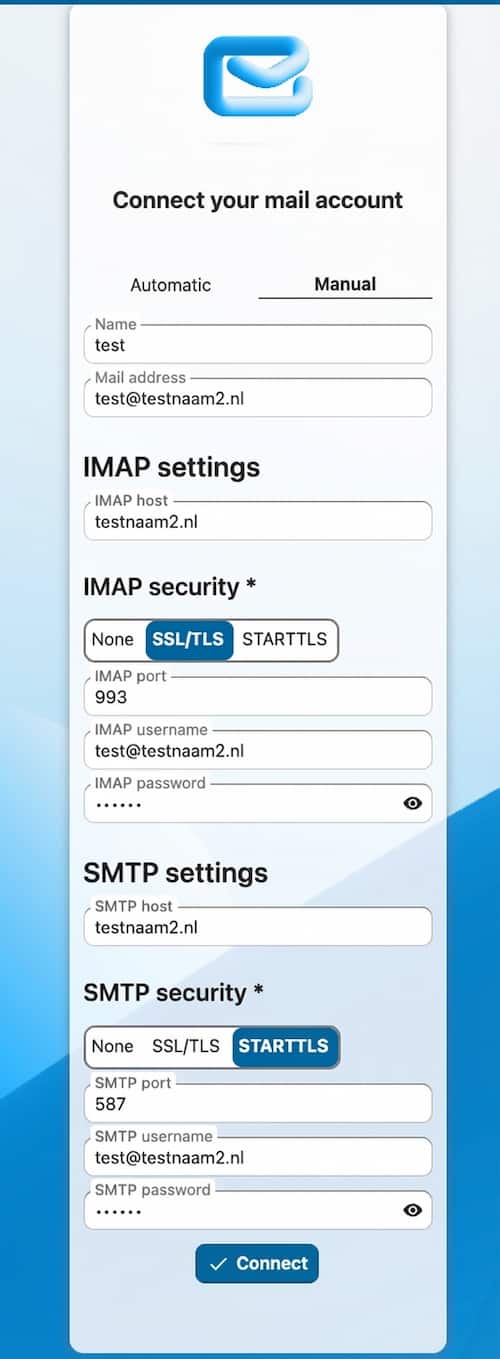
Step 3 - Here we explain which settings to enter in each field:
IMAP host - enter your domain name here, in this case testnaam2.nl. If your domain's DNS doesn't point to a WebOké server, enter the server name. Note: Do you only have an Email Only package with us and is your website hosted with another provider? Then entering the domain name as hostname won't work. Enter the server name of your Email Only package instead, which can be found in the email you received when purchasing the package. That server name looks like this for example: linux2410.webawere.nl.
IMAP Security - SSL/TLS
IMAP Port - 993
IMAP Username - Your email address
IMAP Password - The password of your email address
SMTP host - same as the IMAP host.
SMTP Security - STARTTLS
SMTP Port - 587
SMTP Username - Your email address
SMTP Password - The password of your email address
Then click Connect.
Step 4 - Done! Your mailbox is now added to Nextcloud Mail and the mail will now be synchronized, which may take a while depending on the size of your mailbox.