
Creating a website with the AI Sitebuilder
Our new AI features in the Sitebuilder make building a website a piece of cake.
In this short article we take you through the basic steps of putting together a new website and the AI features that can help you along the way.
Step 1: Open the Site Builder
Open the Site Builder and you will see the main screen. By default it is set to "Wizard", our AI wizard that can generate a website for you automatically.
In the left-hand menu you will also find the 213 templates you can choose as the starting point for your website.
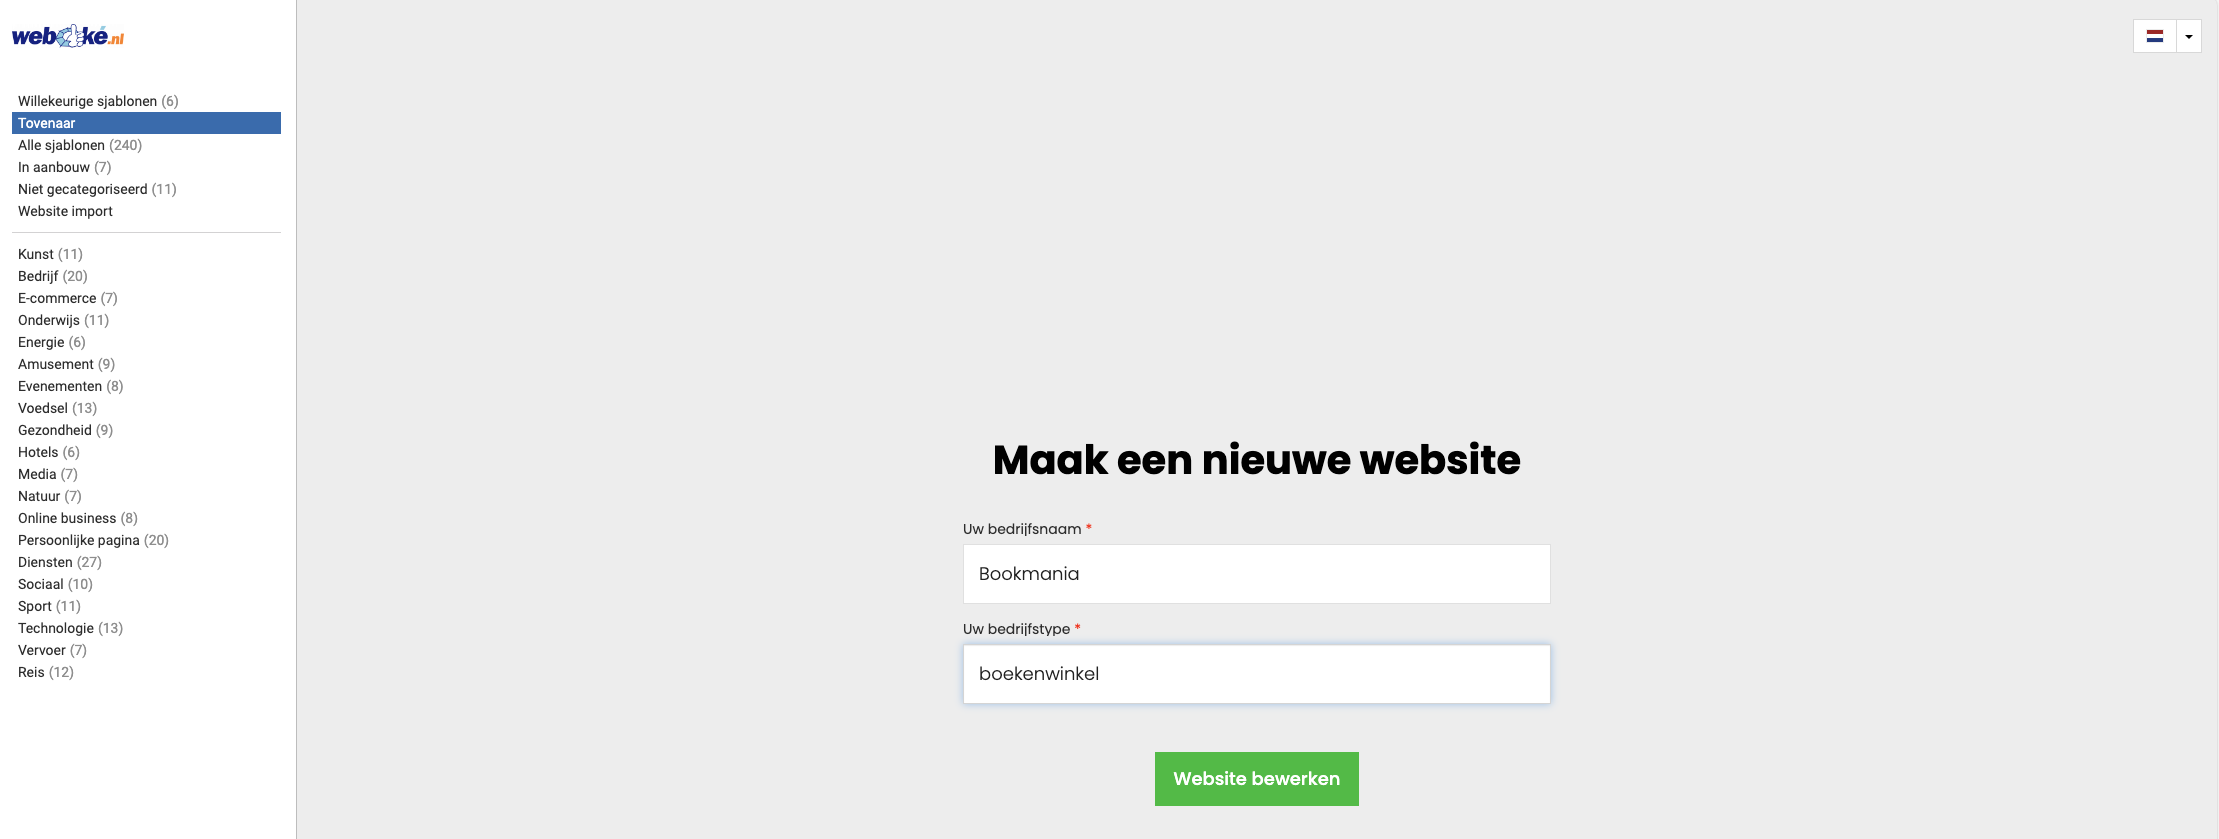
Step 2: Enter your company name and website category
For example, if you run a bookshop called "Bookmania", enter that here. Then click Edit website. Generating the website takes 1 to 2 minutes.
Once the site has been generated, you go straight to your new site in the Sitebuilder
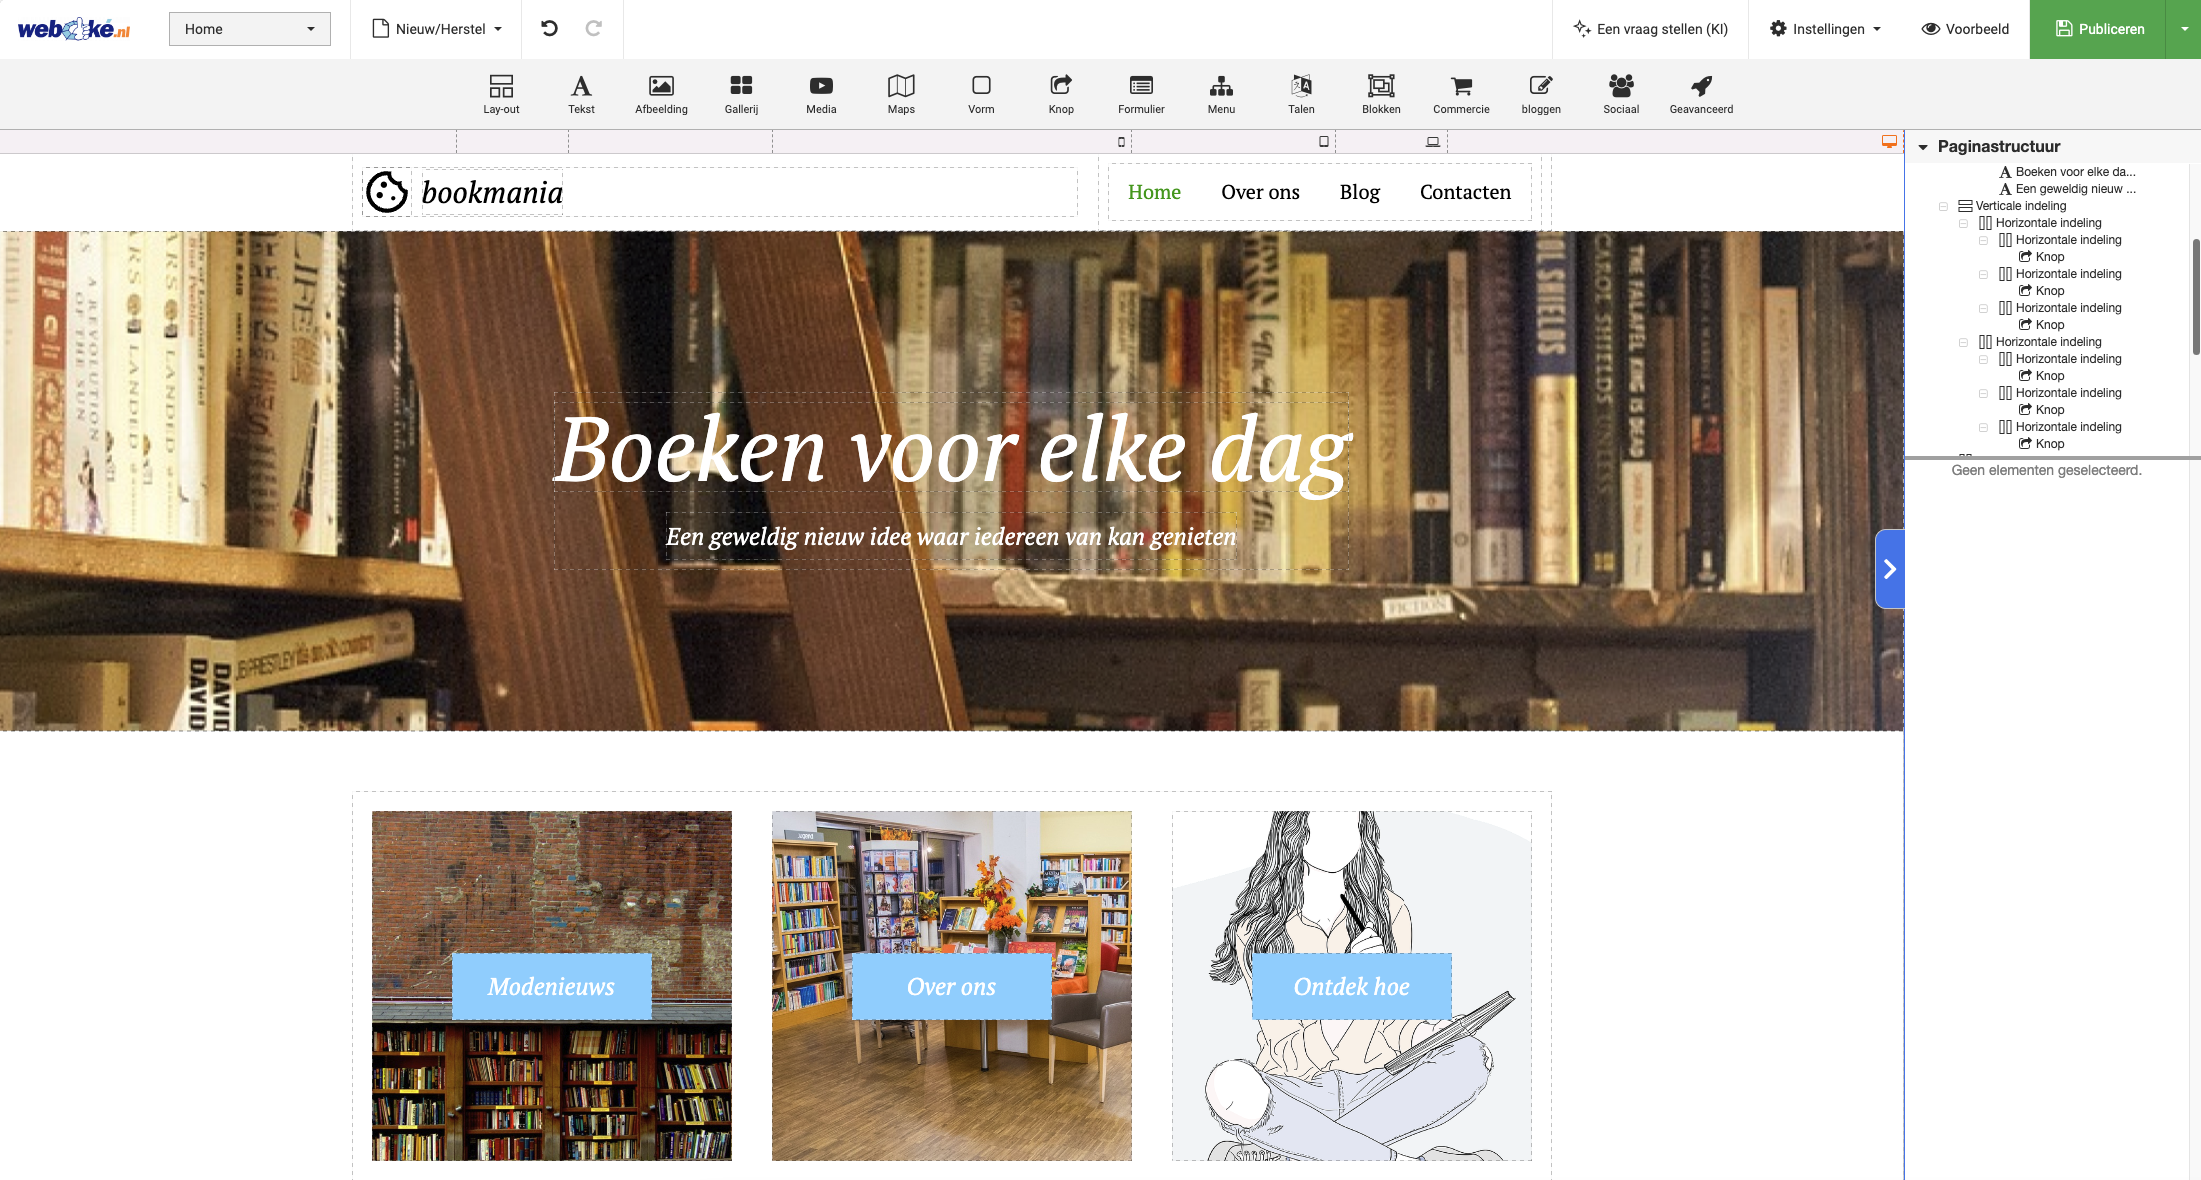
Step 3: Edit the website
Once the website has been generated, you will see a layout with a style that matches the company name you entered. The website contains placeholder texts that you can easily change. Click a text block and select Generate text.
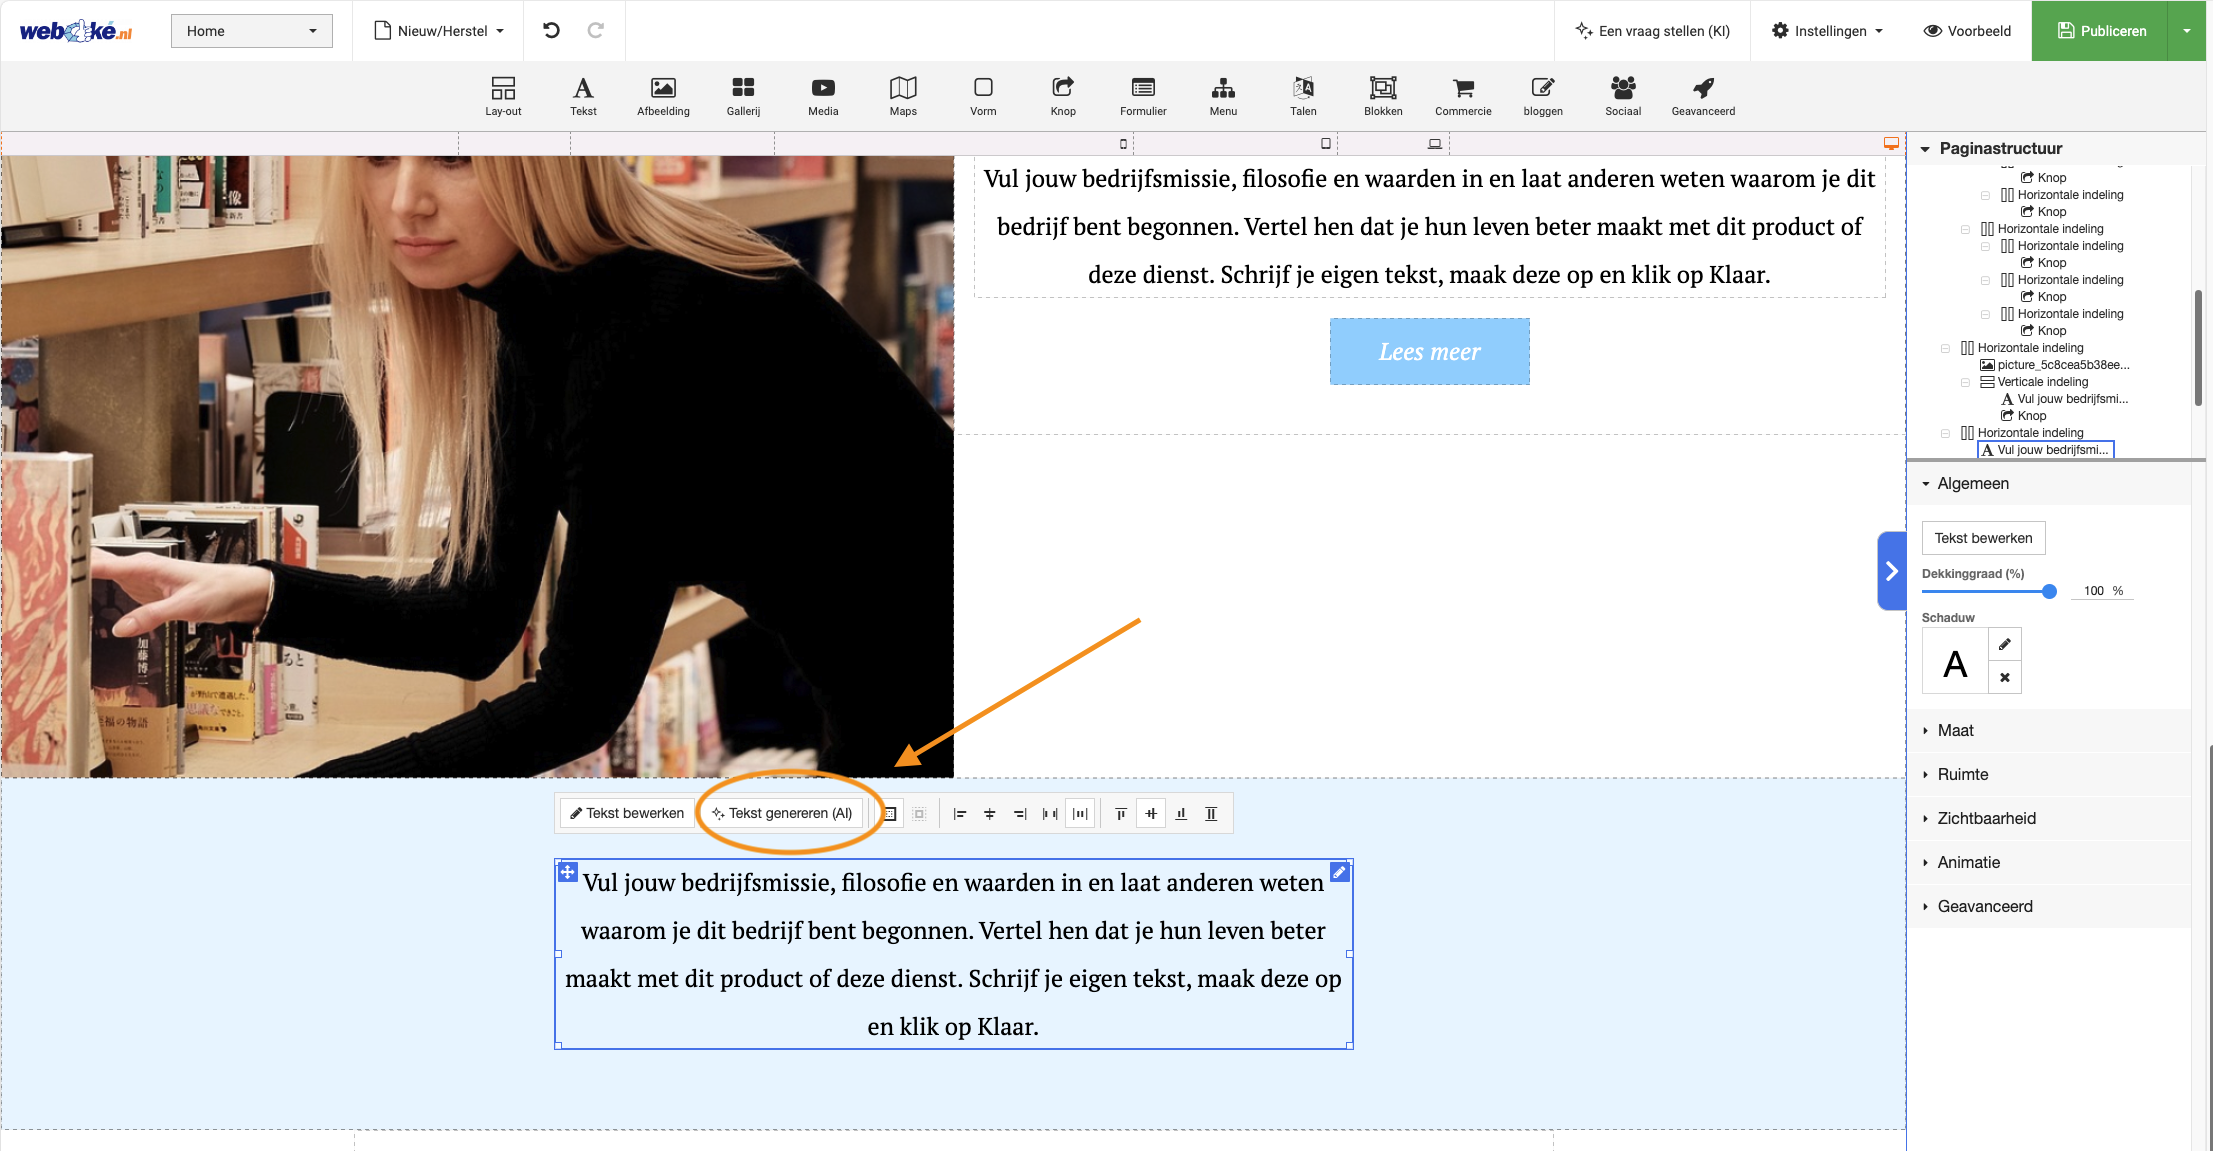
Step 4: Generate text with AI
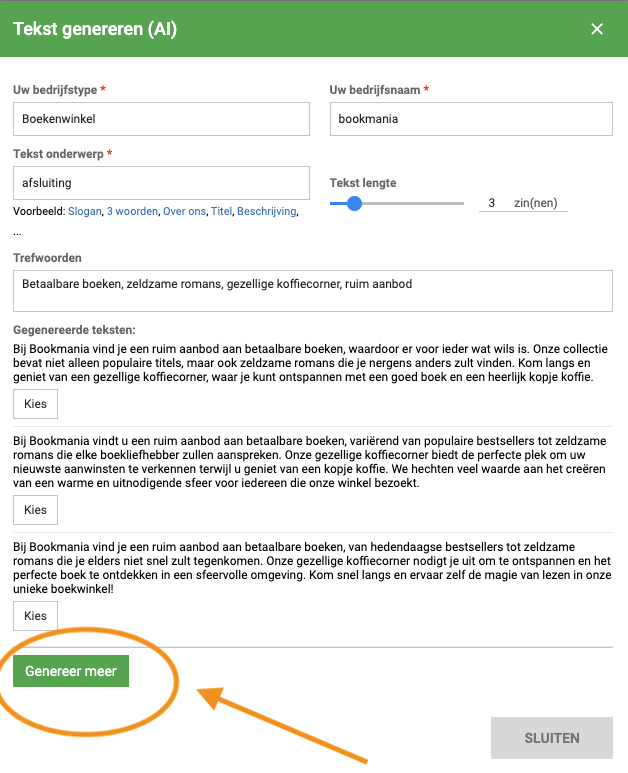
Choose the subject of the text block. If it is the footer of the page, for example, you can indicate that here so the text is written in that style.
Enter a few keywords, such as "affordable books", "rare novels", "cosy coffee corner" and "wide range". Then choose the text length you want, for example five sentences.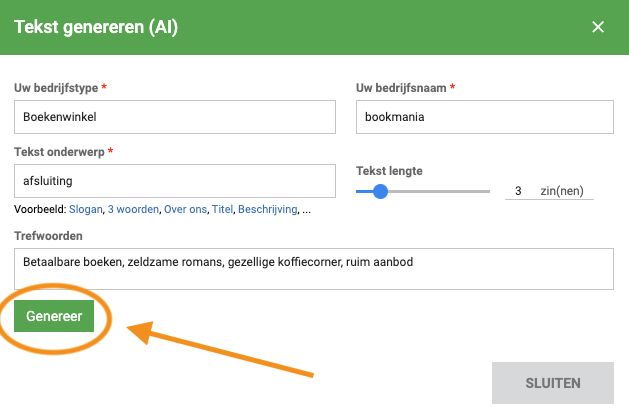
The AI generates three text options, and you can choose the one you find most suitable.
Not completely satisfied and want more options? Click Generate more
Repeat this process for every text on your website. You can also change headings, or keep AI-generated headings if they are already good enough.
Step 6: Configure the SEO settings
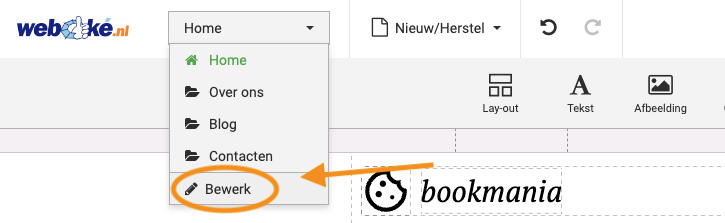
SEO is important to make your website easier to find on Google. Click the drop-down menu and click Edit to open the SEO settings.
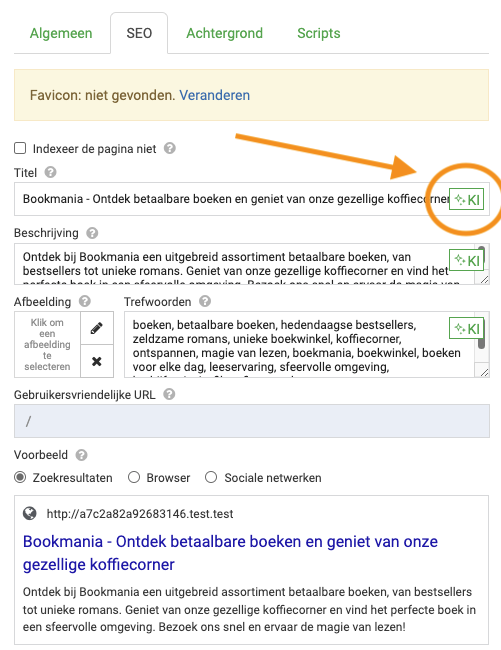
Make sure the right page (for example the home page) is open and click SEO. Here you will find the AI button (it may still be labelled 'KI'), which lets you generate an SEO-friendly title automatically. Do the same for the description and, optionally, the keywords, although the latter are not that important any more these days. The AI assistant takes the right SEO guidelines into account and writes catchy texts that have a good chance of being picked up by search engines.
Step 7: Preview and publish
If you want to see what the website looks like to visitors, click Preview. Happy with the result? Click Publish to put your website online.
Congratulations! Your website is now live. Change it whenever you like using the AI features, and make sure your website is always up to date and performs well in search engines.